Rendering settings
Written By Kacper Staniul
Last updated 2 months ago
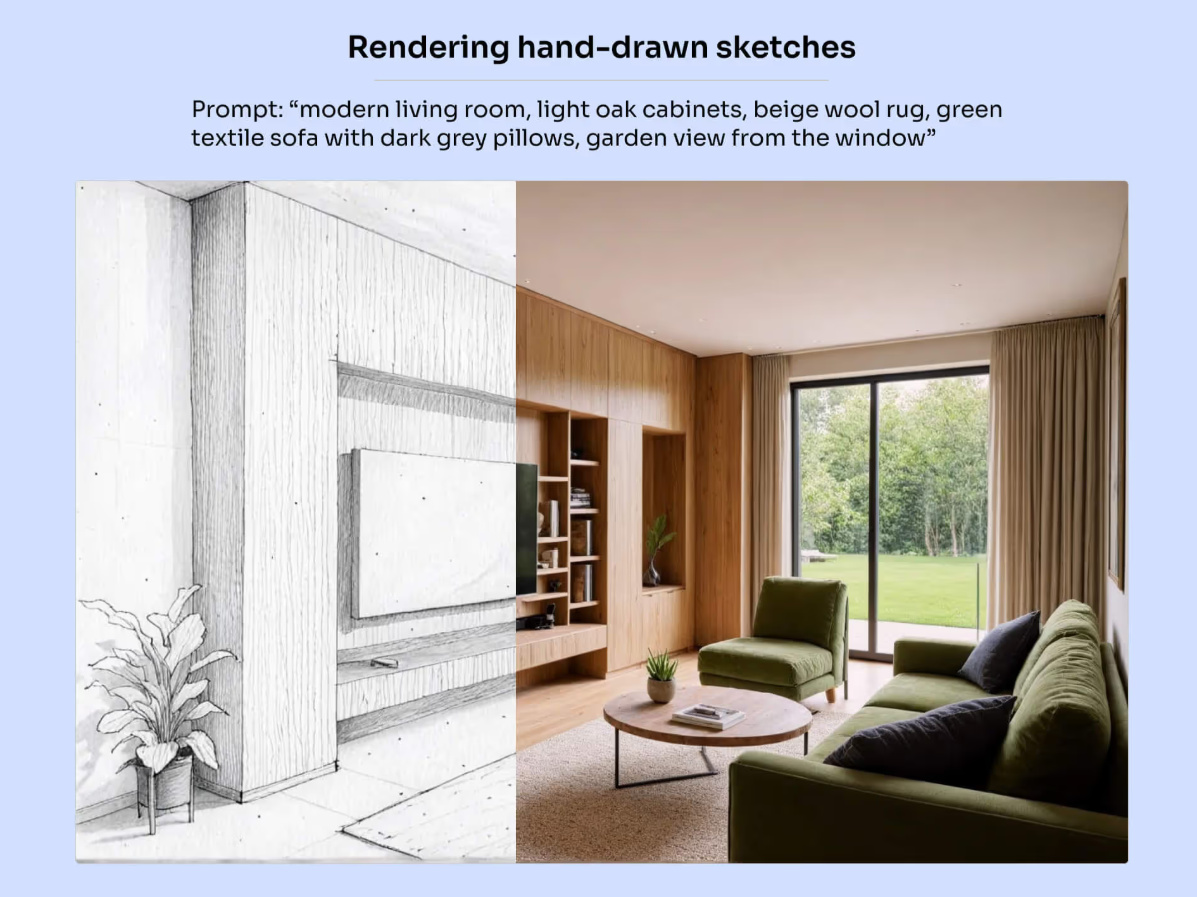
Render is our most versatile engine, optimized for visualizing both CAD designs and hand-drawn sketches (and in some cases also enhancing renders from other tools).
The Render tool supports scene exports from any CAD software, including SketchUp, Revit, Archicad, and more. It works with 3D views and elevations. Floor plans are not supported yet.
It preserves colors, materials, and textures from your uploads, while also letting you add landscapes, adjust lighting, and change the weather.
Quick video overview of how it works:
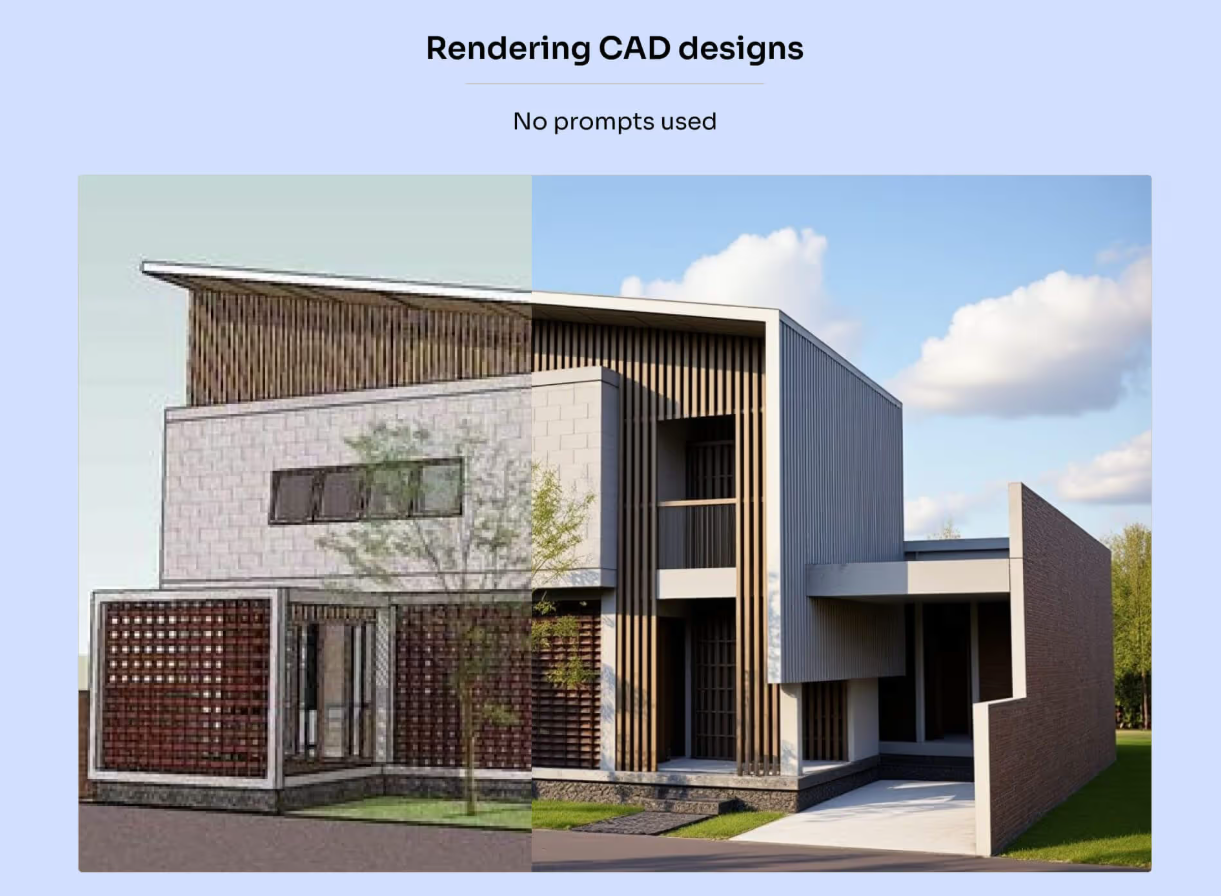
Rendering textured designs
This engine is optimized to work with textured designs without any prompts at all.
Just select if you're working with an interior or exterior scene, leave all other settings unchanged, and click Render.
If you want to customize aspects like landscape, lighting, or weather, you can add a prompt, or let MyArchitectAI generate it for you using the auto-prompt tool:
You can always adjust the auto-generated prompt to match your exact needs.
We don't recommend using Apply Style when working with textured designs, unless using a conceptual style, so keep this option unchecked.
Rendering untextured (black and white) designs
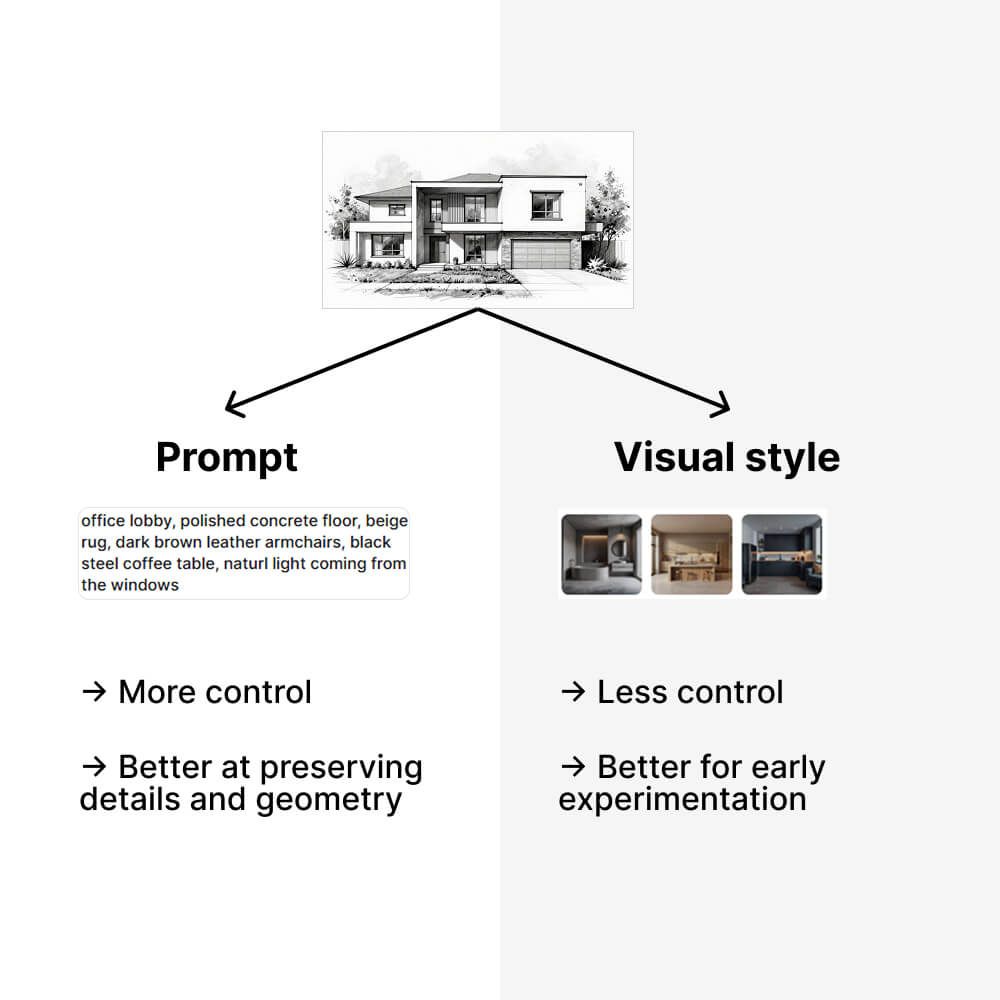
When working with exterior elevations and other untextured designs, there are 2 approaches:
Rendering with a prompt - gives you more control and is a better choice if you already have a specific concept in mind
Rendering using a Apply Style - better choice in the early ideation phase, when you want to quickly experiment with different aesthetics
Rendering with a prompt
Describe your scene using comma-separated keywords, including all key aspects of the design, such as materials and landscape. For best results, follow Prompting best practices.
Rendering using Apply Style
If you’re not set on specific details yet and want to show your client different concepts, you can skip the prompt and use the Apply Style setting instead.
Here, you can choose between photorealistic or conceptual styles, or upload your own reference image.
Photorealistic and Custom styles use your selected (or uploaded) reference image as inspiration and blend it with your design to generate a unique concept.
Conceptual applies a predefined aesthetic to your image with no additional settings. Use it to emphasize the overall idea and spatial concept, helping clients focus on intent and composition rather than early-stage details.
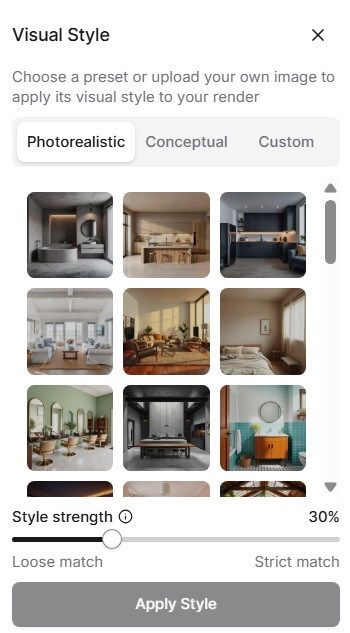
If you pick Photorealistic or Custom, use the Style Strength slider to control how strongly the reference image influences the render. Higher values make the result look closer to the reference image.
Extra tips
To make changes to your designs, use editing tools — our rendering engine isn’t optimized for that.
People and cars might sometimes get distorted, so adding them to the scene using the Edit by Prompt tool produces much better results.
Use case examples
Here are some examples of what you can use the Render engine for: